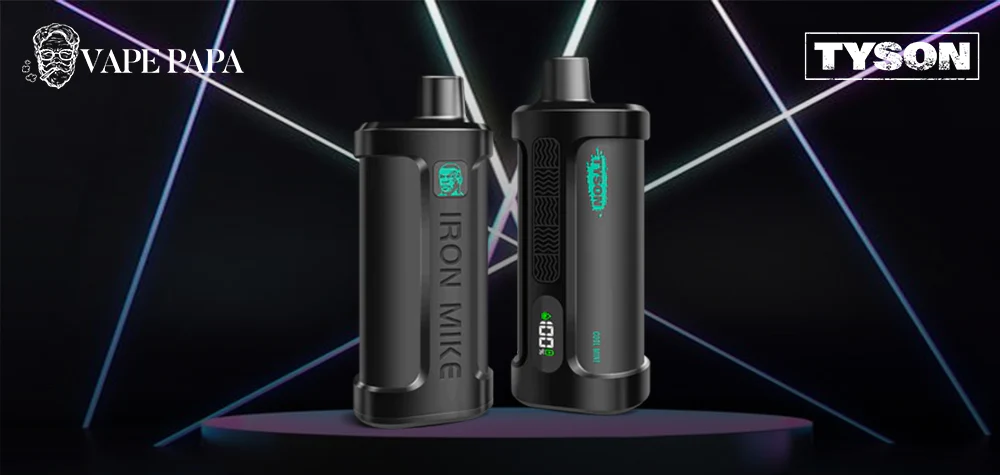
Comprehensive Guide: Step-by-Step Instructions on How to Diagnose and Repair Common Issues with Your Tyson Iron Vape – Ensuring Optimal Performance and Longevity
Troubleshooting Your Tyson Iron Vape: A Comprehensive Guide
In the dynamic world of vaping, Tyson Iron Vapes have garnered praise for their sleek design and consistent performance. Despite their reliability, encountering glitches with your Tyson Iron vape can be frustrating. Whether it’s a charging issue, vapor production problem, or cartridge malfunction, understanding how to troubleshoot and fix these issues is essential. If you’ve found yourself facing a glitch with your Tyson Iron Vape, Fear not. This comprehensive guide is here to equip you with the knowledge and tools to troubleshoot and resolve any issues that may arise, ensuring you can continue enjoying your vaping journey with confidence and ease.
1.Starting with the Basics:
Before diving into complex solutions, let’s ensure we cover all the fundamental steps:
– Check Battery Level: To begin troubleshooting your Tyson Iron vape, always start by checking the battery level. Ensure your vape is adequately charged using the provided USB cable. Most Tyson Iron vapes come equipped with LED indicators to display the battery level.
– Inspect the Connection: Next, verify that the pod or cartridge is securely attached to the battery. Loose connections can lead to poor performance or intermittent charging issues.
Read More : Vape Performance Optimization


